How To Get Legendary Parts In 7 Days To Die
Learn how to get Legendary Parts in 7 Days To Die! This guide covers the best farming methods, loot sources, and trader tips to help you craft powerful Legendary weapons fast.

Shahrukh Sial is a Gaming Content Strategist at Sparked Host. He identifies his own strategic outlines through deep research to cover game guides, tips, and updates that help players improve their skills and enjoy a better gaming experience.
In the tough world of 7 Days to Die, you must always make your gear better. Nothing shows you are ready for the apocalypse quite like legendary parts. These hard-to-find, best-quality components are the key to crafting the absolute best weapons, armor, and tools in the entire game. Learning how to get these legendary parts easily is important for any player.
The journey to finding legendary parts can be long, but the rewards are huge. This guide is for beginners. It makes the strategies you need to farm legendary parts simple to understand. We will look at the best ways, from completing trader missions to carefully searching key points of interest.
What Do Legendary Parts Do?
Legendary parts are the best-quality components in 7 Days to Die. Think of them as the ultimate building blocks for end-game gear. When you find legendary parts, you are finding a piece of an item that will have the highest possible quality rating available in the game, specifically Quality 6. This means any weapon, armor, or tool you craft using legendary parts will be Quality 6, which is the absolute best.
The importance of Quality 6 items cannot be overstated. Higher quality items deal more damage, offer better protection, last longer before breaking, and often have more space for mods than lower-quality versions. For weapons, this means more powerful attacks. For armor, it means superior damage protection against zombies. For tools, it means faster digging and better strength. So, finding legendary parts means getting unmatched power in the wasteland.
Without legendary parts, you can only craft items that are Quality 5 or lower, even if you have mastered your crafting perks. To truly unlock the full potential of your gear and be the best, you absolutely need legendary parts. They are the final step to being fully ready to face the most dangerous parts of 7 Days to Die, from the strongest zombies to the harshest weather.
Method 1: Complete Trader Missions For Legendary Parts
One of the most reliable ways of finding legendary parts is by completing trader missions. These missions are almost always a guaranteed way to get these parts. Traders are the friendly people who run stores all over the map. They buy and sell things, but the main thing they do is give out missions.
Trader missions are a main way to get loot progression in 7 Days to Die. These missions might ask you to clear a point of interest (POI) of zombies, find a specific item, or pick up a supply drop. When you clear missions for a trader, you move up through different tiers of missions. Higher-tier missions (Tier 4 and Tier 5) have a much higher chance of giving you legendary parts as a reward. In fact, Tier 5 missions often provide guaranteed legendary parts upon completing trader missions, making them a very fast way to farm legendary parts.
To get legendary parts from a trader:
-
Find a Trader: Find any trader store on your map. Early in the game, you will likely find one or two right away.
-
Take Missions: Talk to the trader and select a mission. Start with lower-tier missions (Tier 1, Tier 2) to build your trust with that trader.
-
Finish the Mission: Follow the goals, clear all the zombie threats, and finish the job.
-
Turn In and Repeat: Go back to the trader to finish the mission and get your reward. Then, right away, select another mission.
-
Increase Mission Tier: As you complete more missions, the trader will offer you higher-tier missions. Keep going until you are doing Tier 4 and Tier 5 missions all the time. This is when the legendary parts reward starts to show up often.
This method is great because it is a reliable path to finding legendary parts. It also gives you other good loot and money. It is a smart way to help your gear progression and explore the map at the same time.
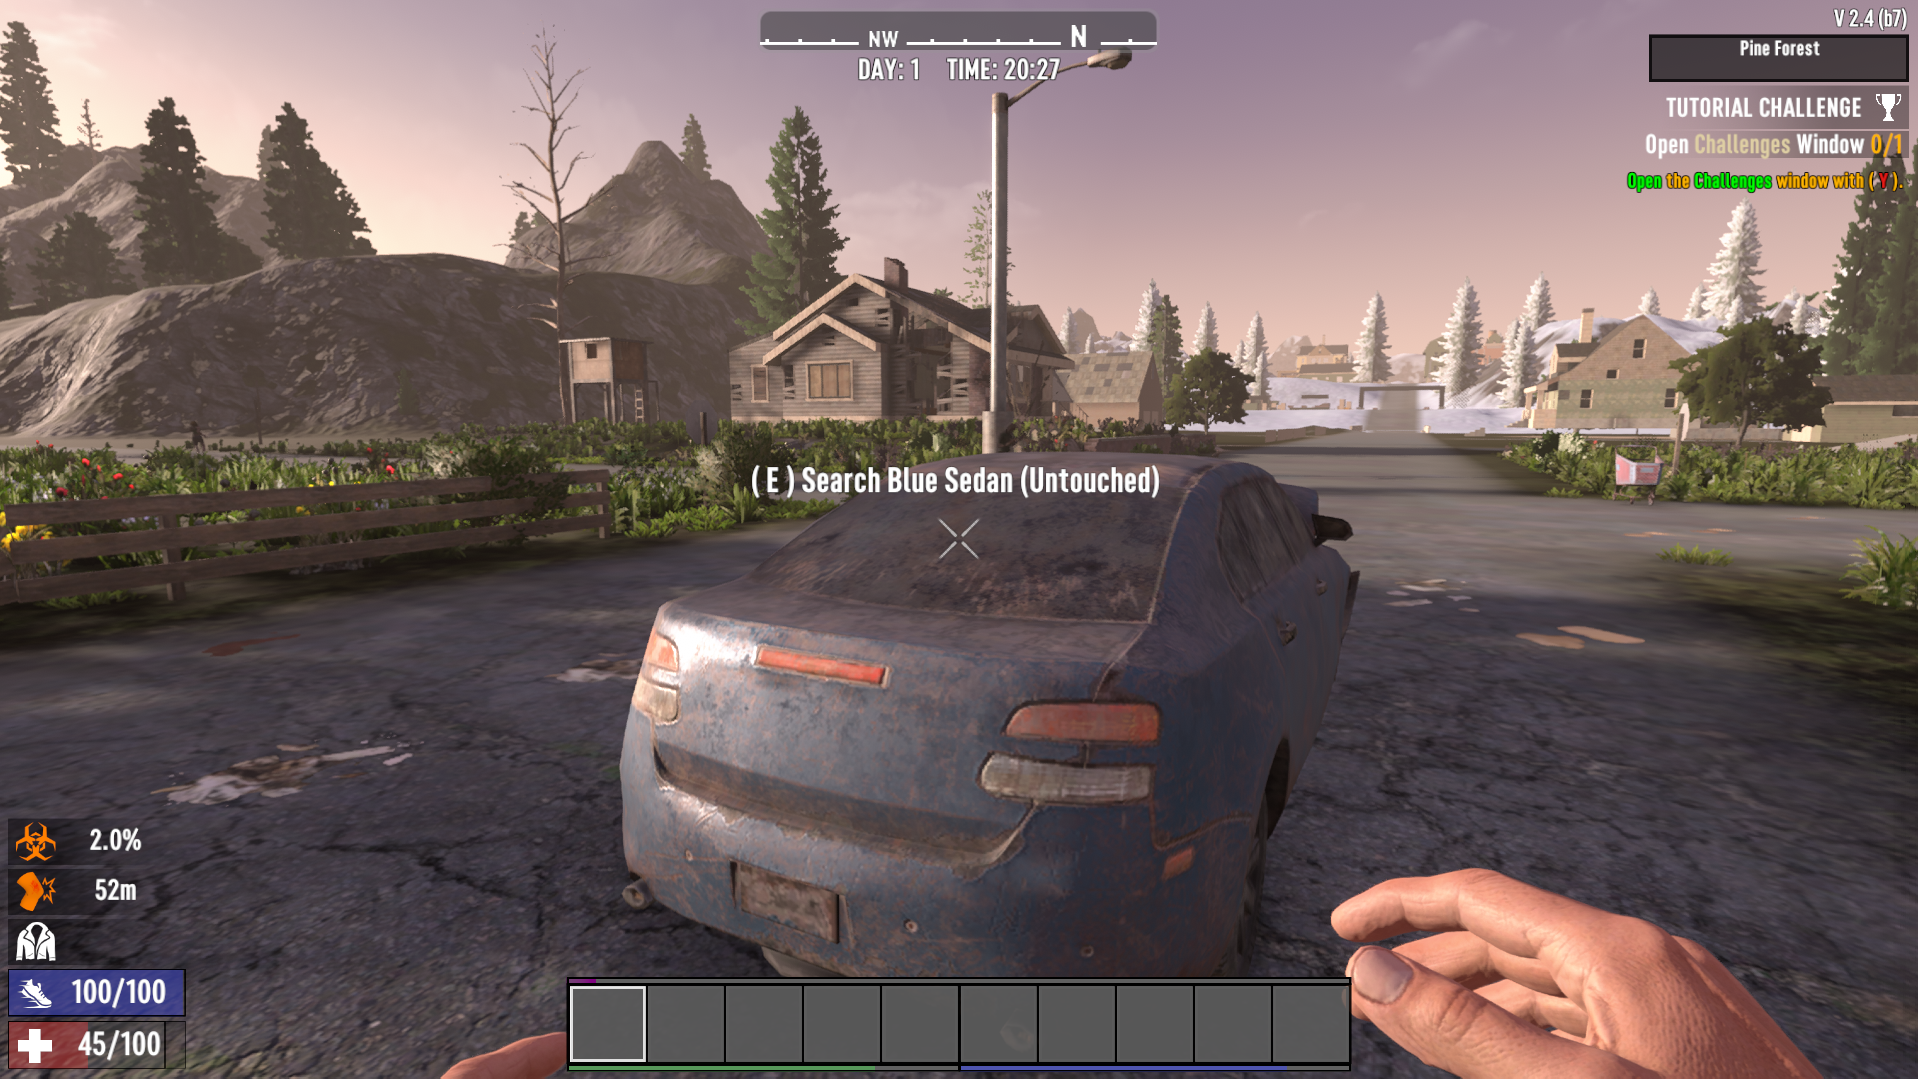
Method 2: Find Legendary Parts In Crates At Points Of Interest
While trader missions are a sure way to get legendary parts, you can also directly find legendary parts just by exploring. Across the huge world of 7 Days to Die, there are many points of interest (POIs) that hold different loot containers. These locations are everything from simple houses to huge factories and army bunkers.
Many POIs have certain loot containers that have a small chance to spawn legendary parts. You often find these in:
-
Supply Crates: Usually found in army or factory settings.
-
Locked Safes: You need high perks in Lock Picking or explosives to open these.
-
Airdrop Crates: These fall randomly during the day. They often have high-quality loot, including a small chance for legendary parts.
-
High-Tier POI Containers: In more dangerous POIs, the final loot container at the end is a "tier loot" container that has increased odds of giving you legendary parts.
To give yourself the best chance of finding legendary parts this way, you need to search every container in a POI. Look first in higher-tier POIs because they naturally have better loot. Remember that loot improves with your loot stage. The higher your loot stage, the better the quality of items you will find, including legendary parts.
This method also helps your character's overall progression. You get experience, resources, and other good loot while exploring. Always be ready to fight when you enter a POI, as dangerous zombies will be inside.
Tips To Get More Legendary Parts
Finding legendary parts often requires a mix of smart playing, good choices, and some luck. Here are some key tips to increase your odds of getting these important components.
Get to Level 15 and Raise Your Loot Stage
Your loot stage is the most important thing that decides the quality of items you find in 7 Days to Die. The higher your character level and game stage (which counts your level and day count), the higher your loot stage will be. A higher loot stage means better quality items will spawn in loot containers, and there will be a greater chance of finding legendary parts.
-
Focus on Leveling: Work hard to get experience (XP) by killing zombies, crafting, gathering resources, and completing missions.
-
Reach Level 15: Many players see a big increase in loot quality once their character level reaches around Level 15. This is when the loot tables start to be more helpful for legendary parts. While you can find legendary parts before this, Level 15 is the best time to start seeing them regularly.
-
Increase Difficulty: Playing on a higher difficulty setting also makes your loot stage higher, further increasing your chances of finding legendary parts.
Remember that your game stage naturally increases with each passing day in the game, pushing your loot stage higher over time.
Read The Wasteland Treasures Magazines
7 Days to Die has many magazines that unlock special recipes and perks. For finding legendary parts, the Wasteland Treasures magazines are a must-have.
-
Wasteland Treasures Vol. 1 - Lucky Looter: Reading this magazine gives you perks that directly increase your loot quality and chances of finding legendary parts from loot containers.
-
Wasteland Treasures Vol. 2 - Scavenger's Savvy: This magazine helps you even more to find rare items and legendary parts.
Make it a goal to search for and read these magazines whenever you can. You can find them in mailboxes, on shelves, in loot containers, and sometimes as rewards from trader missions. The perks they give are a strong, constant boost to your loot luck, which directly helps you to farm legendary parts.
Check Out Salvage Country And Locked Containers
Certain location types and specific containers have a higher chance of giving you legendary parts.
-
Wasteland Biome: The Wasteland biome is very dangerous, but it often has the best loot in the game. The zombie count is high, but the item quality in its loot containers is usually much higher than in safer locations. Legendary parts are more likely to spawn here.
-
Military Installations: Places like army bases, bunkers, and crashed helicopters are great locations for high-quality gear and legendary parts.
-
Factories and Industrial Sites: Big industrial buildings often have several important loot containers that can hold legendary parts.
-
Locked Containers: Always try to open locked containers. Safes, strong chests, and special supply crates often need certain perks (like Lock Picking) or tools (like a drill or explosives) to unlock, but they are worth the trouble because they have better loot. This includes a better chance of finding legendary parts.
The key here is risk versus reward. The more dangerous a location or the more effort needed to unlock a container, the better your chances are of finding legendary parts.
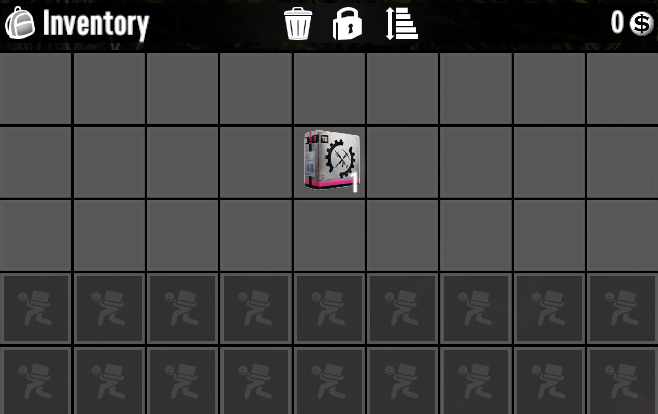
How To Use Legendary Parts
Once you have successfully started finding legendary parts, the next step is to use them well by crafting powerful Quality 6 items. This is a simple process, but it needs a special workstation.
Get A Tier 2 Workbench
To craft legendary items using your legendary parts, you will need a Tier 2 workbench.
-
Craft a Workbench: Start by crafting a basic workbench if you do not have one. This is a very important workstation for all crafting in 7 Days to Die.
-
Upgrade to Tier 2: The Tier 2 workbench is often a later-game unlock or needs special perks in the workstations skill tree. You can also sometimes find a Tier 2 workbench already spawned in higher-tier POIs, like in factories.
-
Place the Workbench: Once you get it, put the workbench in your base.
-
Workstations Skill: Putting points into the workstations skill tree will help you to unlock and craft these higher-tier workbenches more easily.
Craft Legendary Items
With your Tier 2 workbench ready, crafting legendary parts into Quality 6 items is easy.
-
Access the Workbench: Use your Tier 2 workbench to open the workbench menu.
-
Select Item: In the workbench menu, select the item you want to craft (like a steel pickaxe, a steel armor piece, or a rifle).
-
Check Recipe: The recipe will show you the materials needed, including the specific parts for that item.
-
Confirm Legendary Parts: If you have the required legendary parts (like a legendary tool part for a pickaxe, a legendary weapon part for a rifle, or legendary armor pieces for chest armor), the crafting screen will automatically choose these parts.
-
Craft: Once all resources and legendary parts are there, select the Craft button. You will now have a Quality 6 legendary item!
This process lets you turn your hard-earned legendary parts into the best gear available, giving you a huge edge in 7 Days to Die.
Conclusion
Getting legendary parts in 7 Days to Die is the main goal for any survivor who wants to rule the endgame. The best way to get legendary parts is by focusing on Tier 4 and 5 trader missions, which offer them as guaranteed rewards. You can also increase your odds by searching loot containers in dangerous, higher-tier POIs like the Wasteland biome.
Do not forget to increase your loot stage by leveling up (aim for at least Level 15) and by reading those necessary Wasteland Treasures magazines for passive perks. Once you have collected enough legendary parts, get a Tier 2 workbench to unlock the ability to craft Quality 6 items. Whether you are crafting legendary weapons, legendary armor, or legendary tools, these best-quality items will greatly increase your survival skills, letting you face any challenge the zombie apocalypse sends. Now go, clear missions, find legendary parts, and dominate the wasteland.