How to Use Fermenter in Valheim
Is your Valheim Fermenter exposed to rain or taking too long? Master indoor placement, timer mechanics, and brewing the best Frost and Poison Resistance meads.

Shahrukh Sial is a Gaming Content Strategist at Sparked Host. He identifies his own strategic outlines through deep research to cover game guides, tips, and updates that help players improve their skills and enjoy a better gaming experience.
The Fermenter is a crucial crafting station in Valheim used to brew powerful potions, transforming raw mead bases into consumable healing, stamina, and resistance mixtures. The cauldron is used to create mead bases, which are then fermented in the fermenter to produce drinkable potions. To use the Fermenter in Valheim, place it completely under a roof and within the active build radius of a nearby Workbench, press E while holding a raw mead base made in the Cauldron, then wait two in-game days before collecting the finished mead.
For Valheim players who want to brew potions efficiently and sharpen their crafting and survival strategy, this guide walks through the full process: Fermenter crafting requirements, mead base preparation, fermentation time, key potion recipes, farming and layout planning, troubleshooting, and optimization for solo or group play. Mastering this station matters once tougher biomes and enemies start demanding reliable healing, stamina recovery, and resistance buffs.
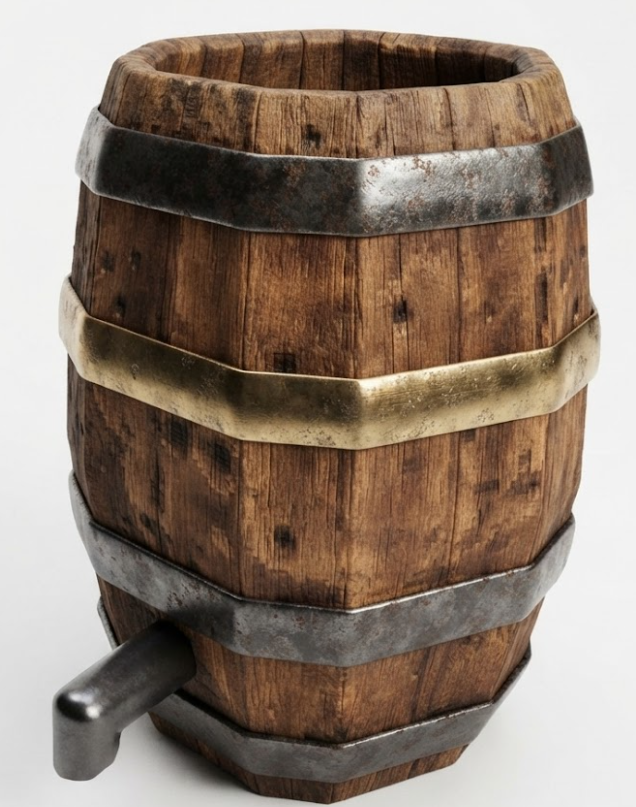
Crafting and Placement Requirements
Follow these steps to craft and place your Fermenter:
1. Bronze Acquisition

- Acquire 5 Bronze: After defeating Eikthyr to get a pickaxe, start mining Copper and Tin in the Black Forest, then smelt them and combine them at a Forge into five bronze bars.
2. Fine Wood Gathering
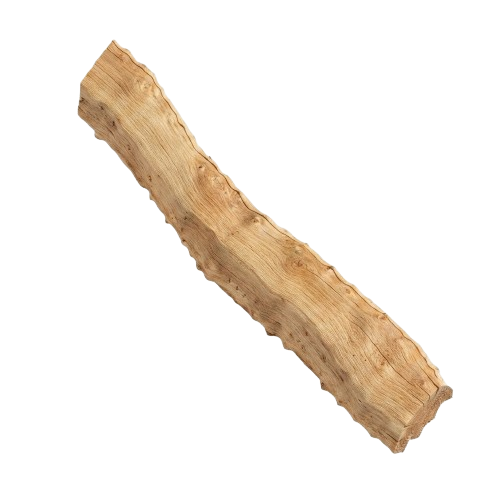
- Gather 30 Fine Wood: Chop down birch or oak trees using a bronze axe or better.
3. Resin Collection

- Collect 10 Resin: Defeat Greydwarfs or chop trees in the Meadows and Black Forest.
4. Workbench Placement
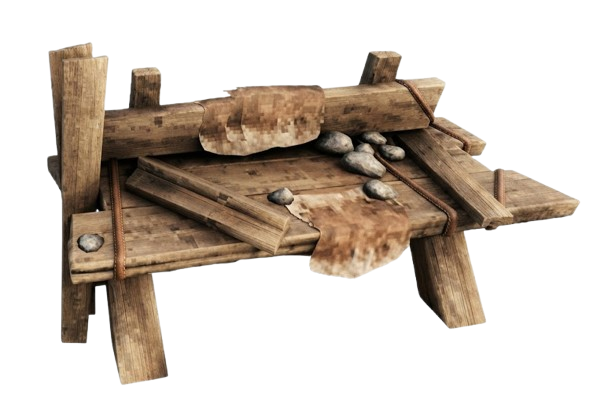
- Check Workbench level: You only need a standard, Level 1 Workbench nearby to place it.
5. Roof Coverage

- Provide 70% roof cover: Build walls and a roof around the Fermenter to prevent the "Too Exposed" error.
Once your fermenter is crafted and placed, the next step is preparing the mead bases.
Preparing Mead Bases and Using the Cauldron
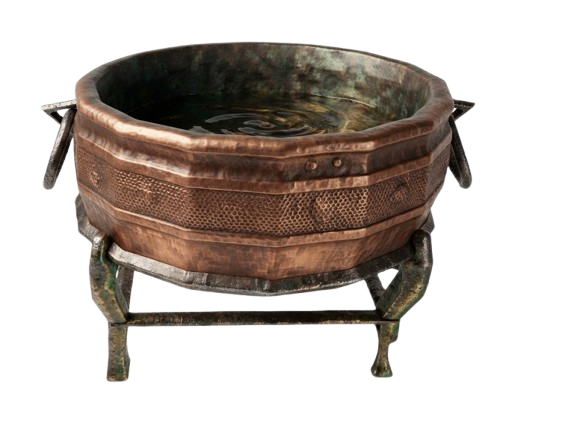
The cauldron is used to create mead bases, which are then fermented in the fermenter to produce drinkable potions. The fermenter requires a cauldron to complete brewing.
Crafting Mead Bases
- Craft bases first: Interact with a fire-heated Cauldron to create and brew mead bases using the right recipes before loading the Fermenter.
Honey Collection
- Stockpile sweet honey: Most mead base blueprints require 10 Honey harvested from constructed Beehives, which you make after finding a queen bee.
Collecting Mead Bases
- Remove from Cauldron: Take the wet mead base item directly into your personal inventory character slots.
Loading the Fermenter
- Fill the Fermenter: Approach the structure and press E to pour the raw base inside.
With your mead bases ready and loaded, you can now begin the fermentation process.
Fermentation Process and Timers
Fermentation Duration
- Wait two days: The fermenting process takes 2 full in-game days to finish, and each batch will ferment into 6 meads when done.
Real-Time Calculation
- Real-time calculation: This brewing period translates to roughly 40 to 60 real-time minutes of continuous gameplay.
Speeding Up Fermentation
- Sleep to accelerate: Going to sleep in a bed skips the night, speeding up the process.
Storage
- Safe holding container: The machine safely stores finished potions indefinitely until you manually tap the spigot.
Once fermentation is complete, you can collect your potions and use them as needed. Next, let's explore the different types of meads you can brew.
Healing and Stamina Meads
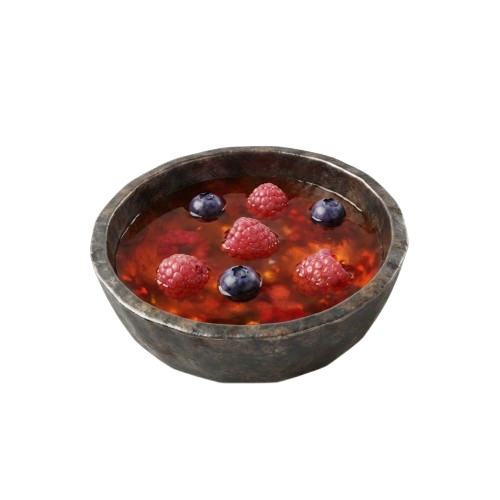
Minor Healing Mead
-
Ingredients:
-
10 Honey
-
5 Blueberries
-
10 Raspberries
-
1 Dandelion
-
-
Effect: Restores 50 Health. Especially useful in early to mid-game.
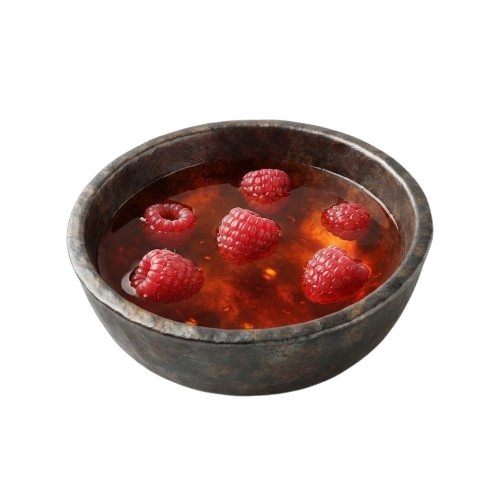
Medium Healing Mead
-
Ingredients:
-
10 Honey
-
4 Bloodbags
-
10 Raspberries
-
1 Dandelion
-
-
Effect: Restores 75 Health. Helps recovery after tough battles.
Healing potions restore chunks of health during challenging encounters.
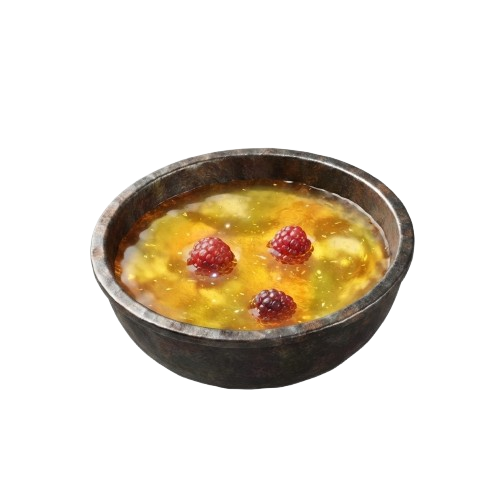
Minor Stamina Mead
-
Ingredients:
-
10 Honey
-
10 Raspberries
-
10 Yellow Mushrooms
-
-
Effect: Restores 80 Stamina.
Medium Stamina Mead

-
Ingredients:
-
10 Honey
-
10 Cloudberries
-
10 Yellow Mushrooms
-
-
Effect: Restores 160 Stamina.
Tasty Mead
-
Ingredients: (as per in-game recipe)
-
Effect: Provides quick stamina boosts for exploring.
Yield Output Ratio
- Every single brewed base outputs exactly 6 finished potion bottles upon tapping.
With your healing and stamina meads ready, you can now prepare for harsher environments with resistance meads.
Frost Resistance Mead and Other Resistance Mead
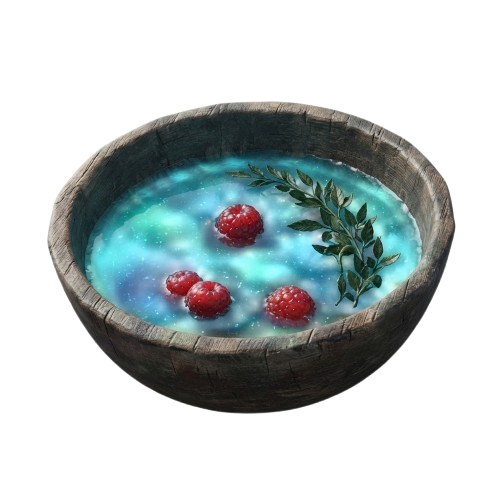
Frost Resistance Mead
-
Ingredients:
-
10 Honey
-
5 Thistles
-
2 Bloodbags
-
1 Greydwarf Eye
-
-
Effect: Protection from cold and frost damage in the Mountain biome.
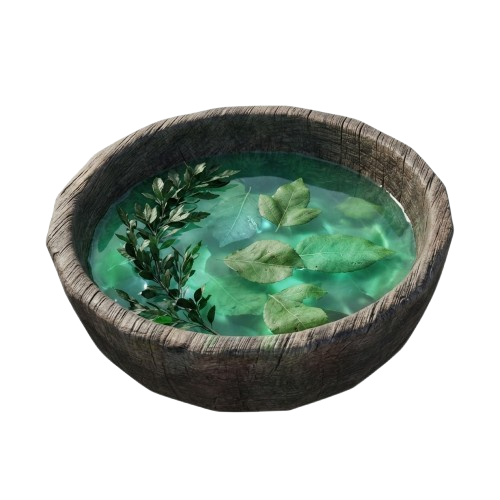
Poison Resistance Mead
-
Ingredients:
-
10 Honey
-
5 Thistles
-
10 Coal
-
1 Neck Tail
-
-
Effect: Especially useful in the swamp biome.
Potion Duration Limit
- Standard elemental resistance meads grant safety buffs lasting for 10 continuous minutes.
Mountain Preparation Rule
- Drink Frost Resistance Mead before entering the Mountain biome, as fire resistance is not the answer there and frost protection is essential before entering icy areas. In the Plains, barley wine is the brew that provides protection from heat and fire-based threats.
Now that you know how to brew and use various meads, let's look at how to optimize your farming and logistics.
Farming, Logistics, and Linking Systems
Beehive Placement
- Group your Beehives: Build Honey Beehives directly outside your kitchen door for rapid cooking loops and steadier food supplies.
Ingredient Organization
- Label your chests: Use wooden signs to organize ingredients like berries, entrails, and mushrooms.
Portal Networks
- Utilize portal networks: Set up teleportation lanes to carry non-ore materials across distant biomes and your Valheim world instantly.
With your farming and logistics optimized, you can now focus on efficient layout and scheduling for continuous brewing.
Layout, Scheduling, and Weekly Fermentation
Fermenter Arrangement
- Build linear mega-rows: Arrange multiple fermenters side-by-side in a long line to easily check them.
Batch Tracking
- Track the clock: Keep an eye on your day counter to know when batches are finished.
Staggered Inputs
- Stagger your inputs: Load your machines one day apart so you have a steady supply.
Signage
- Use physical signs: Place wooden text signs above each barrel to log brew dates or types.
If you encounter issues or have questions, refer to the quick FAQ below.
Troubleshooting and FAQs
-
How do I fix "Too Exposed" errors?
- Build additional wooden walls or a thicker thatch roof tightly around the machine.
-
What happens if I destroy a working Fermenter?
- Smashing a working Fermenter with an axe permanently destroys the active mead base.
-
Do potions expire if left in the Fermenter?
- Finished meads left sitting inside the barrel spigot will never spoil or rot.
-
How many barrels do I need for solo play?
- Running 2 to 4 active barrels satisfies the consumption needs of a solo explorer.
With troubleshooting covered, let's finish with some final tips for optimizing your brewing setup.
Final Tips and Optimization
Scaling for Groups
- Scale for big groups: Maintain a fleet of 6 to 10 fermenters if playing on a busy server.
Barrel Allocation
- Balance your types: Dedicate half your barrels to stamina drinks and the other half to healing items.
Adjusting for Party Size
- Adjust for party size: Add two extra barrels for every additional Viking that joins your clan.