How To Make Stairs In 7 Days To Die
Learn how to make stairs in 7 Days To Die! This guide covers crafting recipes, building tips, and design ideas to create smooth, secure stairways for your base.

How to make stairs in 7 Days to Die
Building stairs in 7 Days to Die 1.0 may seem a little confusing at first, but once you get the hang of it, it's a piece of cake! This guide will walk you through the process of crafting and placing stairs, making your base more accessible and functional.
Step 1: Gather One Type Of Material
Stairs are not crafted as a finished object, but are modified forms of a base building block. Therefore, “Step 1” is about choosing and crafting the material from which the stairs will be made.
You must decide what material you will use for your stairs. The choice affects not only the appearance, but also the strength (Health Points or HP) of the stairs.
| Recommended Material | Resistance (Initial) | Typical Use |
|---|---|---|
| Wooden Frame | Low | For a quick start, or for disposable horde bases. |
| Cobblestone Block | Medium | Good early option for more secure bases. |
| Concrete Block | High | The ideal choice for permanent bases and horde defense. |
Step 2: Craft Building Frames
This step is the foundation of the entire building system in 7 Days to Die and is the reason why there is no direct recipe for “stairs.”
Wooden Frames are the wildcard block in the game. They are the cheapest and easiest to obtain, and are used as the starting point for almost any shape you want to build.
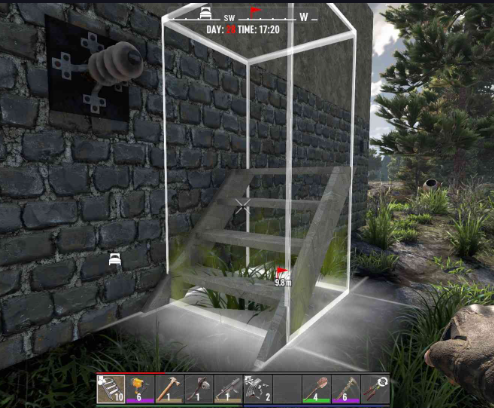
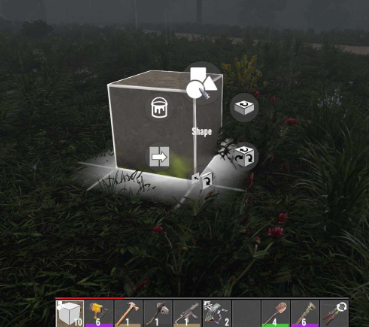
Step 3: Place Staircase Frames Down Using The Shape Menu
This step combines the shape you chose in the previous step with precise placement to build a functional and stable staircase.
Once you have transformed your Wooden Frame (or any other base material) into a Ladder shape using the R key, that object will retain its ladder shape while equipped in your toolbar. You don't need to open the Shape Menu for every block you place!
The challenge when placing any block in 7 Days to Die is orientation. For the ladder to work correctly, the slope must point in the direction you want to climb.
-
Rotate the Block: Before placing the frame, press the Rotate key. By default, this is the R key (press it quickly, do not hold it down, as this will open the Shapes Menu).
-
Visual Adjustment: Rotate the ladder frame until the guide arrow (or the shape itself) is oriented to climb up from the ground.
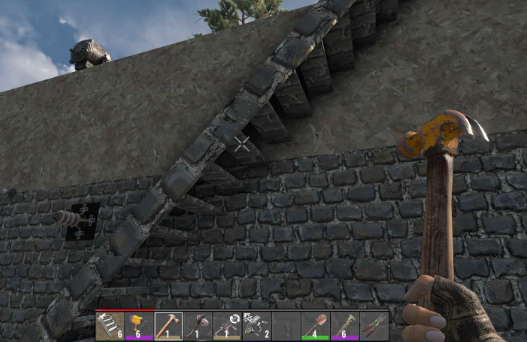
Step 4: Upgrade Your Staircase To The Desired Tier
A staircase made of wooden frames is functional, but it will barely withstand contact with even the weakest zombie; therefore, the goal is to upgrade it to reinforced wooden stairs and, eventually, to much stronger materials like concrete or steel.
Required Tool
To upgrade any block, including your ladder, you need an Upgrade Tool:
-
Stone Axe: Sufficient for basic upgrades (wood to reinforced wood).
-
Claw Hammer: Faster for low/medium level upgrades.
-
Nailgun: The fastest and most efficient tool for upgrades, especially in advanced stages.
Improvement Materials (Resources)
You need to have the required materials in your inventory or Tool Belt. The game automatically consumes resources when upgrading.
| Block Level | Required Improvement Material | Resistance (HP) |
|---|---|---|
| Reinforced Wood | Wood | Low/Medium |
| Cobblestone | Stone and Clay | Medium |
| Concrete | Cement and Gravel (Stone) | High |
| Steel | Forged Steel | Maximum |
Conclusion
To create and place stairs in 7 Days to Die, you must use structure shapes to get the form you need, and by following the steps, you can easily improve your base; just remember to use the shapes menu to find the different options and place and upgrade them correctly using the appropriate repair tool for the best results.