How to Set Up a Minecraft Server: The Complete 2026 Guide
Learn how to set up your own Minecraft server with our essential guide. Get step-by-step instructions to create a thriving gaming community. Read more!

Shahrukh Sial is a Gaming Content Strategist at Sparked Host. He identifies his own strategic outlines through deep research to cover game guides, tips, and updates that help players improve their skills and enjoy a better gaming experience.
Building your own Minecraft server is one of the most rewarding projects you can undertake as a gamer, educator, or community leader. It gives you absolute control over the game world, allowing you to set the rules, install custom modifications, and create a safe, curated space for friends, students, or a public community to gather. Unlike renting a pre-made server where you are limited by strict rules, high monthly fees, and generic configurations, owning your own server setup puts the power entirely in your hands. Whether you want a private playground for your family or a massive public network with thousands of players, the process starts with a clear plan and the right technical foundation.
Before you download a single file, you must define exactly what you want to build. This involves deciding if your server will be private for friends or open to the public, estimating how many players you expect, and understanding the hardware required to keep the game running smoothly in 2026. A server intended for ten friends playing on weekends has very different needs than a 24/7 public hub with hundreds of concurrent users. Ignoring these initial planning steps often leads to laggy gameplay, crashes, and security vulnerabilities that can ruin the experience for everyone involved. In the current landscape, factors like DDoS protection and NVMe storage speeds are just as critical as raw CPU power.
This guide will walk you through every single step of the process, from selecting your hardware and hosting method to configuring security and managing backups. We will cover both self-hosting on your own computer and renting a Virtual Private Server (VPS), explaining the pros and cons of each with up-to-date 2026 standards. You will learn how to install the correct version of Java (Java 21), configure server properties, set up port forwarding, and protect your network from modern threats. By the end of this blog, you will have a fully functional, secure, and optimized Minecraft server ready for players. We will keep the language simple and direct, avoiding unnecessary jargon so you can focus on building your community.
Key Takeaways
-
Java 21 is Mandatory: Modern Minecraft versions (1.20.5 and later) require Java 21. Using older versions like Java 17 will cause the server to fail.
-
Security First: Public servers face constant DDoS attacks. Use a hosting provider with built-in DDoS protection or a reverse proxy; never expose a home IP without extreme caution.
-
Storage Matters: World files can easily exceed 100 GB with modern mods and exploration. Use NVMe SSDs, not standard HDDs, to prevent lag.
-
Essential Plugins: For any public or multi-user server, plugins like LuckPerms, WorldGuard, and CoreProtect are non-optional for safety and management.
-
Free Options Exist: For casual play with friends, free hosts like Aternos or Minehut are viable starting points, though they lack performance for serious projects.
Defining Your Server's Purpose and Requirements
The first step in creating a Minecraft server is not technical; it is strategic. You need to clearly define what you are building because this decision dictates every other choice you make, from hardware to software.
Decide on Public or Private Access
Your first decision is who can join your server.
-
Private Servers: These are invite-only environments for friends, family, or a specific group. You can use a whitelist to ensure only approved players can enter. This is the safest option for beginners.
-
Public Servers: These are open to anyone on the internet. They require robust security, anti-cheat plugins, and constant monitoring to prevent griefing, hacking, and abuse. Public servers also face legal and liability considerations if minors are involved. In 2026, public servers are primary targets for DDoS attacks, making professional hosting essential.
Estimate Player Count and Hardware Needs
The number of concurrent players directly impacts your hardware requirements. Minecraft is unique because it is heavily dependent on single-thread CPU performance. This means a processor with a high clock speed is more important than having many cores, and you should match your hardware or hosting tier to your player load using budget, enterprise, or extreme server plans.
-
1-10 Players: A modern home computer or a low-end VPS with 4-6 GB of RAM might suffice.
-
10-50 Players: You will need a dedicated machine or a high-performance VPS with a strong CPU (Ryzen 9 or equivalent) and 8-16 GB of RAM.
-
50+ Players: This requires professional-grade hardware, often distributed across multiple machines, with specialized optimization software like Paper and advanced caching.
| Player Count | Recommended RAM | CPU Requirement | Storage Type | Hosting Type |
|---|---|---|---|---|
| 1-5 | 4-6 GB | Modern Home CPU | SSD | Self-Hosted or Free Host |
| 5-20 | 8-12 GB | High Clock Speed (3.5 GHz+) | NVMe SSD | VPS or Managed Host |
| 20-100 | 16-32 GB+ | Enterprise Grade (Ryzen 9/EPYC) | NVMe SSD + RAID | Managed Host or Dedicated |
| 100+ | 32 GB+ | Multiple High-Performance Servers | Distributed Storage | Professional Hosting Company |
Choosing Between Self-Hosting, Free Hosts, and Managed Services
Once you know your requirements, you must decide where your server will live. You have three main options in 2026: hosting it yourself, using a free host, or renting a server from a professional provider.
Evaluate Self-Hosting Benefits and Risks
Self-hosting involves running the server software on your personal computer or a dedicated machine in your home or renting an affordable budget VPS hosting plan that you manage yourself.
-
Pros: It is free (excluding electricity and hardware costs), gives you full physical control over the hardware, and allows for easy local testing.
-
Cons: It exposes your home IP address to the internet, which is a massive security risk in 2026. Your home internet upload speed limits how many players can connect. If your power goes out or your internet disconnects, the server goes offline. It also requires your computer to be on 24/7, which increases electricity bills and wear on your hardware. DDoS protection is virtually impossible for home users.
Consider Free Hosting Options
Services like Aternos and Minehut are widely used for casual play, and some providers even offer free trial game and hosting plans so you can test performance before committing.
-
Pros: Completely free, easy to set up, no technical knowledge required.
-
Cons: Severe limitations on performance, RAM, and uptime. Servers often shut down when no one is playing. Queue times can be long. Not suitable for serious communities or modpacks.
Evaluate Managed Server Hosts
Managed hosts are companies that specialize in running Minecraft servers, often providing specialized anti-DDoS protection for gaming networks to keep them online under attack.
-
Pros: They handle security, backups, and uptime. They have high-speed connections that can handle hundreds of players. They provide built-in DDoS protection, which is critical for public servers. They often provide easy-to-use control panels (like Pterodactyl) for managing your server.
-
Cons: They cost money, typically ranging from $5 to $50+ per month depending on resources. You do not have physical access to the hardware.
Choose Host Location Near Players
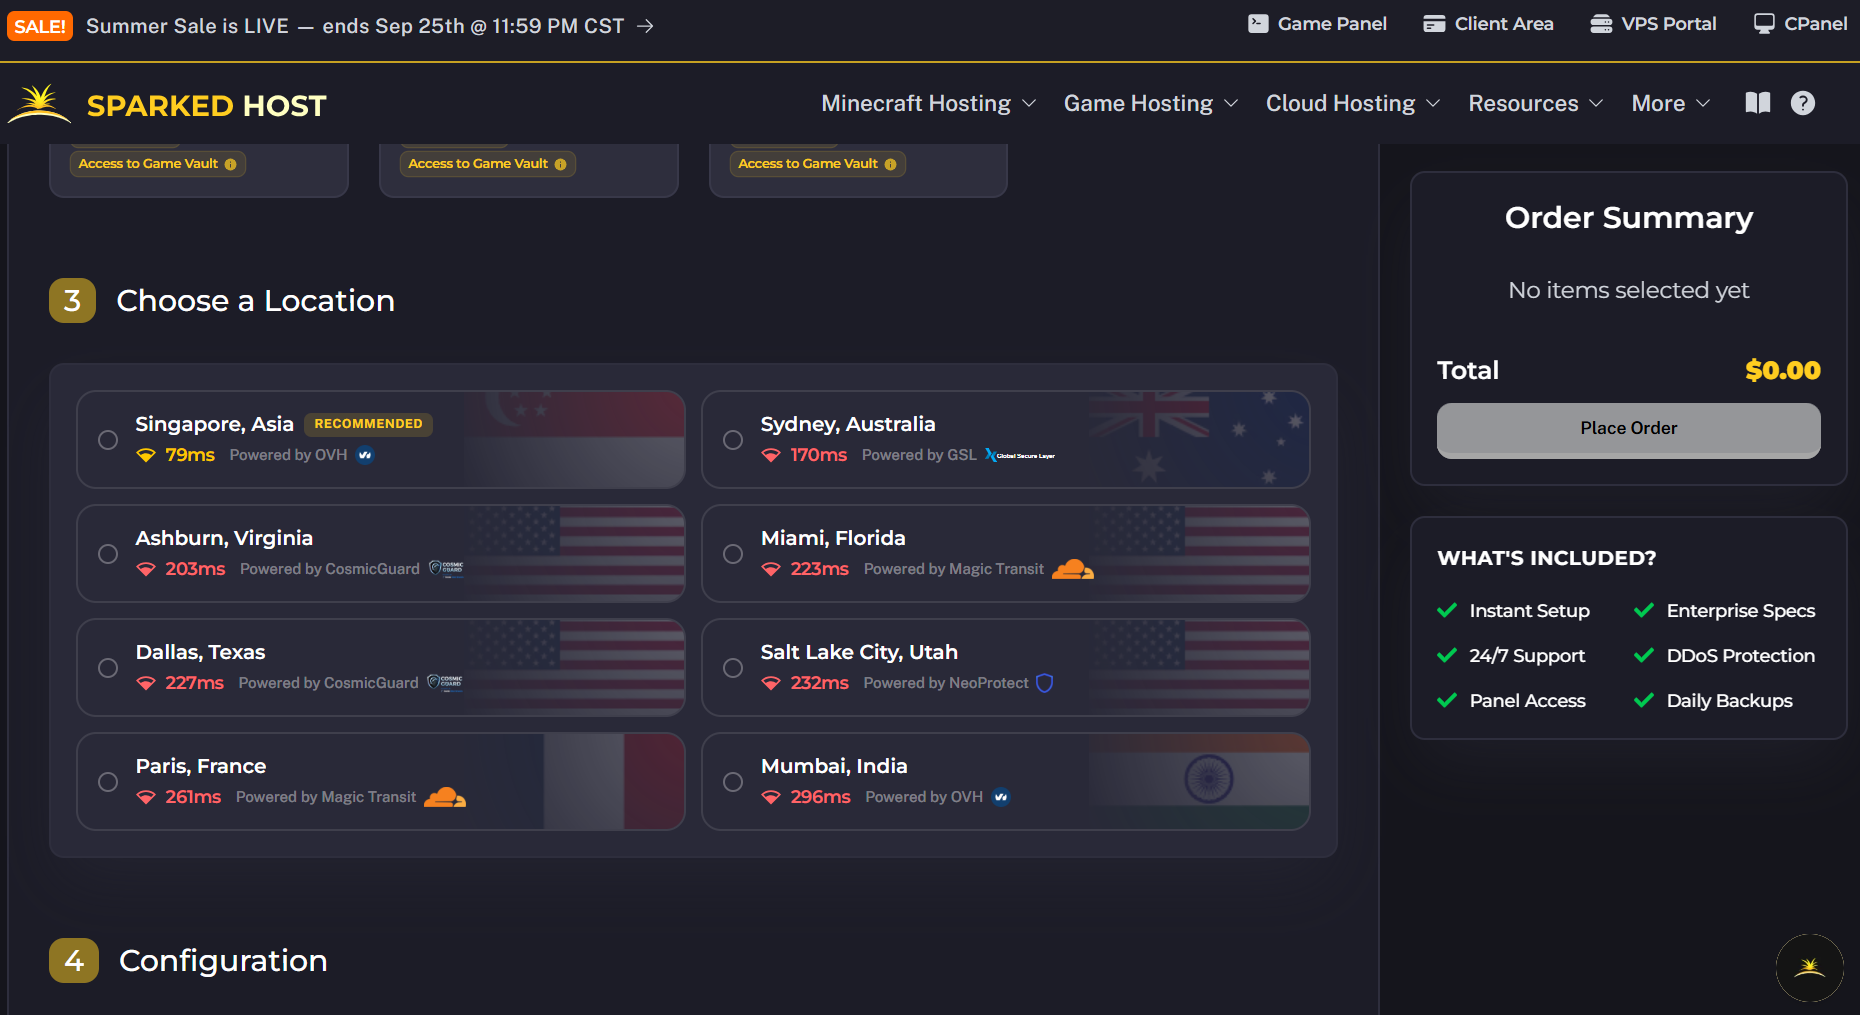
If you choose a VPS or managed host, select a server location geographically close to your players. Latency (ping) is determined by physical distance. If your players are in New York, choose a data center in New York or Virginia. If they are in London, choose a UK or EU location. Many enterprise Minecraft hosting providers let you pick from multiple global locations, so your community experiences consistently low ping. High latency makes the game unplayable.
System Requirements for Minecraft Java Edition on Linux Systems
Most serious server operators use Linux (typically Ubuntu 22.04 or 24.04) because it is more stable, secure, and resource-efficient than Windows. If you plan to run a server on Linux, you must meet specific system requirements.
Check Required Java Version
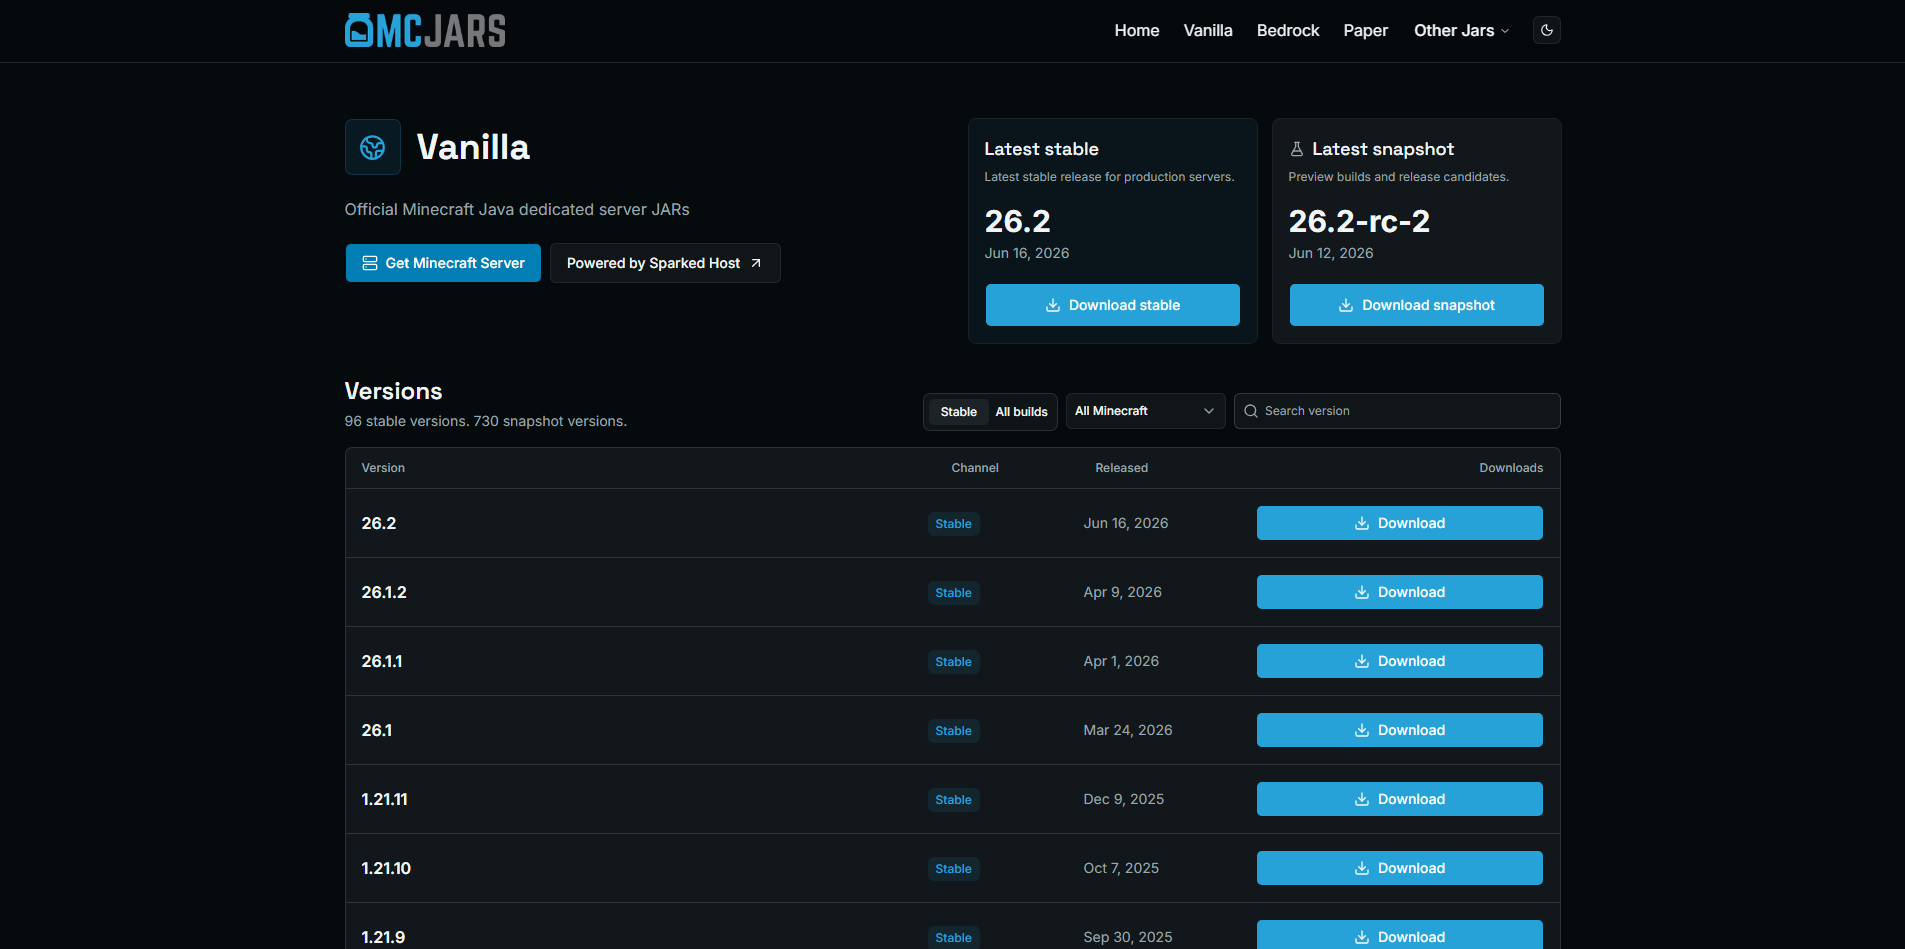
Critical Update for 2026: Modern versions of Minecraft (1.20.5 and above) require Java 21. Older versions like Java 17 are no longer compatible with the latest server jars.
-
Use OpenJDK 21, which is the open-source reference implementation of Java.
-
Avoid using Oracle Java for servers due to licensing complexities.
Allocate RAM Per Player Load
Memory management is crucial. Allocating too little RAM causes crashes. Allocating too much can cause garbage collection issues, leading to severe lag spikes.
-
Rule of Thumb: Allocate 1 GB of RAM for every 5-10 players, plus additional overhead for the operating system and plugins.
-
Never allocate all available RAM to the server. Leave at least 4-8 GB for the OS and other processes.
Choose CPU with Strong Single-Thread Speed
As mentioned earlier, Minecraft's server logic runs on a single thread. A CPU with a high clock speed (3.5 GHz+) is essential. In 2026, hosting providers emphasize Ryzen 9 or AMD EPYC processors because of their superior single-thread performance. Multi-core processors do not help with the main game logic, though they can help with background tasks like backups or web servers.
Reserve Disk Space for World Growth
Minecraft worlds grow indefinitely as players explore. In 2026, with larger modpacks and increased exploration, world files can easily exceed 100 GB.
-
Use NVMe SSDs: Standard HDDs or even SATA SSDs are too slow for modern Minecraft. NVMe SSDs provide the fast read/write speeds necessary for loading chunks quickly and preventing lag.
-
Plan for Growth: Reserve at least 200-500 GB of storage to accommodate world growth, logs, backups, and modpacks.
Network, IP Address, and Port Forwarding
If you choose to self-host, you must configure your network to allow external players to connect. This is often the most confusing part for beginners, but it is essential.
Assign a Static Local IP to the Server
Your server machine needs a fixed address within your home network. If your router assigns a new IP address to your computer every time it restarts (DHCP), your port forwarding rules will break.
-
Log in to your router's admin panel.
-
Find the DHCP settings and assign a Static IP (e.g., 192.168.1.50) to the MAC address of your server machine.
Forward TCP Port 25565 on Your Router
Port forwarding tells your router to send incoming Minecraft traffic to your server machine.
-
Log in to your router's admin interface.
-
Locate the Port Forwarding or Virtual Server section.
-
Create a new rule:
-
Protocol: TCP (and sometimes UDP, though TCP is primary for Minecraft).
-
External Port: 25565.
-
Internal Port: 25565.
-
Internal IP: The static IP you assigned to your server.
-
-
Save the settings.
Test External IP Address Connectivity
After setting up port forwarding, you must verify it works.
-
Do not test from your own network. Your router may not support "NAT Loopback," which prevents you from connecting to your own public IP.
-
Use a friend's computer or a mobile device on cellular data to attempt a connection.
-
Use online tools like "CanYouSeeMe.org" to check if port 25565 is open. If it shows as closed, your firewall or router settings are blocking it.
Avoid Wi-Fi for Public Servers
Never run a public or even a serious private server on Wi-Fi. Wi-Fi is unstable, has high latency, and is prone to interference. A single packet loss event can cause lag spikes that ruin the game. Always use a wired Ethernet connection for your server machine.
Installing Java and Configuring the Server Environment
Once your hardware and network are ready, you can begin the software installation. This guide assumes you are using a Linux system, as it is the industry standard.
Install OpenJDK 21 Runtime
On Ubuntu/Debian, you can install Java 21 using the package manager:
sudo apt update
sudo apt install openjdk-21-jdk-headless
The "headless" version is recommended for servers because it does not include unnecessary graphical components, making it lighter and more secure.
Verify Installation
Confirm Java 21 is installed correctly:
java -version
You should see a message confirming Java 21 is installed. If not, do not proceed.
Downloading and Configuring the Server JAR
-
Download the Official Server: Visit the official Minecraft website and download the server.jar file. Do not download from third-party sites to avoid malware.
-
Create a Dedicated Directory: Create a folder for your server files.
mkdir minecraft-server cd minecraft-server -
Accept the EULA: Run the jar file once. It will fail, but it will generate necessary files, including eula.txt.
java -jar server.jarOpen eula.txt and change eula=false to eula=true. This signifies you agree to Minecraft's End User License Agreement.
Create a Start Script
Instead of typing the launch command every time, create a start script. This allows you to set memory limits safely.
Create a file named start.sh:
#!/bin/bash
java -Xms4G -Xmax8G -jar server.jar --noGUI
-
-Xms4G: Initial RAM allocation (4 GB).
-
-Xmax8G: Maximum RAM allocation (8 GB). Adjust these values based on your hardware and player count.
-
--noGUI: Runs the server without a graphical interface, saving resources.
Make the script executable:
chmod +x start.sh
Choosing Between Paper, Fabric, and Forge
The vanilla Minecraft server software provided by Mojang is unoptimized and lacks features for managing a community. You should consider using alternative server software.
Select Paper for Plugin Support
Paper (and its forks like Purpur) is a highly optimized version of the Minecraft server.
-
Best For: Performance, stability, and plugin support.
-
Why Use It: It fixes hundreds of performance bottlenecks and security vulnerabilities found in the vanilla software. It supports all Bukkit/Spigot plugins.
-
Recommendation: This is the best choice for 99% of server owners.
Choose Fabric for Lightweight Modding
Fabric is a modern modding toolchain.
-
Best For: Players who want to use mods (modifications to the game code) rather than plugins.
-
Why Use It: It is lightweight and updates quickly to new Minecraft versions. However, it does not support Spigot/Bukkit plugins.
Pick Forge for Legacy Modpacks
Forge is the older, established modding platform.
-
Best For: Large, complex modpacks that require deep game changes.
-
Why Use It: Many existing modpacks only work on Forge. It is heavier and slower than Fabric but has a massive library of legacy mods.
Configure Server Properties and Security
Before opening your server to players, you must configure security settings.
Edit Server Properties
Open server.properties with a text editor. This file controls game rules.
-
enable-query: Set to false unless you need specific monitoring tools.
-
gamemode: Set to survival or creative.
-
difficulty: Set to normal or hard.
-
white-list: Set to true for private servers.
Enable Whitelist and Add Operators
For private servers, enabling the whitelist is mandatory.
-
Set white-list=true in server.properties.
-
Start the server.
-
In the server console, add trusted users:
whitelist add Username
op Username
The op command gives the user operator status (admin privileges). Be careful who you give this to.
Essential Plugins for 2026
If you are running a public or multi-user server, the following plugins are considered essential for safety and management:
-
LuckPerms: For advanced permission management.
-
WorldGuard: To protect areas from being destroyed.
-
CoreProtect: To log all block changes and rollback griefing.
-
EssentialsX: For basic commands and user management.
Security, Backups, and Running on Linux Systems
Running a server exposes you to the internet. You must take security seriously, especially if you are using powerful dedicated servers with built-in DDoS mitigation to host large public communities.
-
Create a Dedicated User: Do not run the server as the root user. Create a new user account specifically for the server.
sudo adduser minecraft sudo -su minecraft -
Configure Firewall Rules: Use ufw (Un Firewall) to block all incoming connections except for port 25565 and SSH.
sudo ufw deny incoming sudo ufw allow 25565/tcp sudo ufw allow 22/tcp (Only if you need remote SSH access) sudo ufw enable -
Schedule Automated Backups: World corruption can happen. Set up a cron job to back up your server folder to an external location (like AWS S3 or a different hard drive) every hour.
-
Enable Fail2Ban: Install fail2ban to prevent brute-force attacks on your SSH or server console.
-
DDoS Protection: If self-hosting, consider using a reverse proxy like Cloudflare to hide your IP. For public servers, rely on a hosting provider with built-in DDoS mitigation.
Advanced Hosting: Docker, VPS, and Managed Options
If you are not comfortable managing a Linux server, there are other options.
Deploy Using Docker
Docker allows you to run the server in a container, isolating it from your main system. This is safer and easier to manage for some users. There are official Docker images available that handle Java installation and server setup automatically, and many Minecraft server hosting platforms support containerized deployments behind the scenes.
Provision a VPS
A Virtual Private Server (VPS) gives you a remote Linux machine to run your server on. Premium NVMe-powered VPS hosting can offer excellent single-thread performance and reliable uptime for Minecraft.
This is better than self-hosting because:
-
It has a static IP and high-speed internet.
-
It runs 24/7 without affecting your home computer.
-
It keeps your home IP address private. Providers like Sparked Host and Rocket Node offer VPS services starting at $8-$10/month. However, you still need to manage the Linux system yourself, and you must configure your own DDoS protection.
Choose a Managed Minecraft Host
If you want to avoid all technical setup, use a managed host. These companies provide a control panel where you can install Minecraft, plugins, and mods with one click, and many also support managed hosting for multiple game servers if you run more than just Minecraft. They handle security, backups, DDoS protection, and uptime. This is the most expensive option but the easiest and safest for beginners and public servers.
Troubleshooting and Maintenance
Once your server is running, your work is not done. Regular maintenance is required to keep it safe and stable.
Inspect Server Logs
If players report issues or the server crashes, check the logs. The server console and log files (usually in the logs folder) contain detailed error messages. Search for keywords like "ERROR," "Exception," or "Crash."
Update Server and Plugins
Keep your server software (server.jar) and plugins up to date. Updates often include security patches and performance improvements.
- Warning: Never update plugins one at a time on a live server without testing. Update one plugin, restart, and test. If something breaks, you will know which plugin caused it.
Rotate and Verify Backups
Regularly check your backups to ensure they are working. Try restoring a backup to a test environment to verify the data is not corrupted. Delete old backups to save space, keeping only the last few days or weeks of data.
Conclusion
Setting up a Minecraft server in 2026 is a journey that blends creativity with technical skill. By following this guide, you have learned how to plan your server's purpose, choose the right hardware with a focus on single-thread performance and NVMe storage, configure a secure Linux environment with Java 21, and manage the ongoing maintenance required to keep a community running. Whether you chose to self-host to save money and learn valuable IT skills, utilized a free host for casual play, or decided that a managed host with DDoS protection is the better fit for your needs, the most important thing is that you now have the knowledge to make informed decisions.
Remember that a successful server is not just about the technology; it is about the community you build. A stable, secure, and well-managed server provides the foundation for players to create memories, build amazing structures, and connect with others. Start small, prioritize security, implement essential plugins like LuckPerms and CoreProtect, and never neglect your backups. With the right setup and a bit of patience, you can create a world that lasts for years. Now, it is time to launch your server, invite your friends, and start building.