Best Beginner Tips for Palworld 1.0
Discover essential tips to navigate Palworld 1.0 effectively. Start your adventure with confidence and make the most of your gaming experience. Read more!

Shahrukh Sial is a Gaming Content Strategist at Sparked Host. He identifies his own strategic outlines through deep research to cover game guides, tips, and updates that help players improve their skills and enjoy a better gaming experience.
The best beginner tips for Palworld 1.0 are to pick a flat, resource-rich base spot early, capture 10 of each Pal for the XP bonus, and use the new work preferences menu to streamline automation. Keeping base workers fed and relaxed, unlocking flight quickly with the new wing pack, preparing properly for the tougher tower bosses, and checking the reworked wildlife sanctuaries for rare materials will also save hours of frustration. Version 1.0 adds enough new progression systems and survival pressure that learning these priorities in your first few days is essential for success.
For new players, Palworld can feel overwhelming fast as crafting chains branch out early, wild monsters punish bad positioning, and base management matters more than ever. Smart planning is what turns the game from chaotic to efficient, especially when you are deciding where to build, how to level, and which Pals to assign to jobs. Knowing when to push bosses or explore farther offshore will determine how smoothly you progress through the opening hours of the launch content.
This ultimate guide is built for beginner players starting Palworld 1.0 who want to handle the launch content efficiently instead of learning everything the hard way. It covers base location, capturing and leveling, automation, worker happiness, offshore base building, flight, boss-fight prep, and wildlife sanctuary runs to set up long-term success.
Choose Your First Base Location Wisely
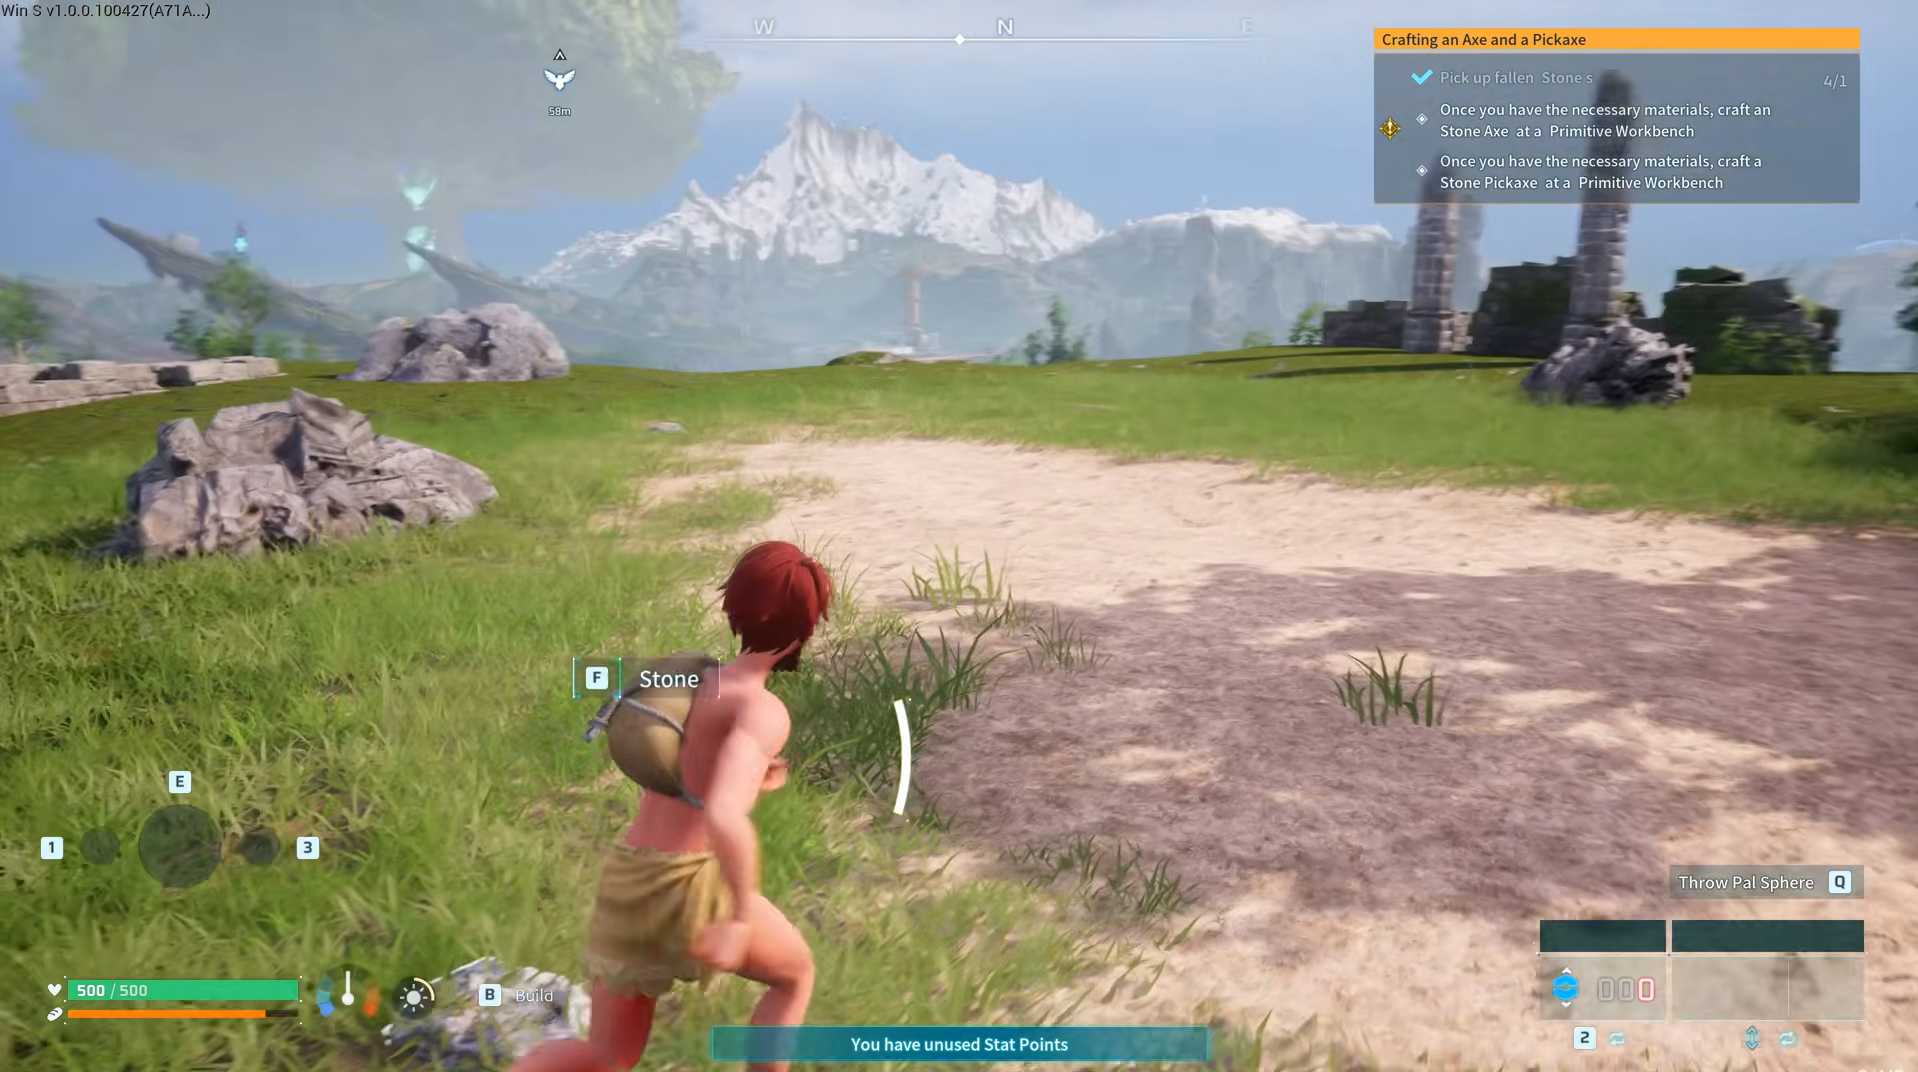
Your first base serves as the central hub for all your crafting, cooking, and storage needs throughout the early game, so beginners should pick a safe starting area before placing anything down. You want to avoid placing your initial Palbox in cramped spaces, dense forests, or on steep hills where building layouts become difficult to manage. Look for wide, flat plains that give your workers plenty of room to move around, especially away from any house walls or roofs where pathing can go wrong.
Resource availability is the most crucial factor when picking a spot for your permanent home base. Try to find an area that has multiple trees, stone deposits, and iron ore veins directly inside your base circle. A strong early option in the starting area is the base location at coordinates 191, -39. This allows your companions to automatically harvest essential building materials while you explore the map. Keep storage chests close to crafting stations and organize your stuff by category to speed up crafting loops.
Base Infrastructure Upgrades
Upgrading your Palbox raises your base level capacity to 10 and lets you manage more Pals in your base, which helps you gather resources faster and unlock more Pals later. Base raids bring dangerous enemies that can damage your structures and Pals, so start building with stone as soon as possible because wooden structures can burn down.
Base Spot Selection Checklist
-
Flat Layout: Choose wide plains over steep hills to ensure your working companions move around without getting stuck on geometry.
-
Coordinates 191, -39: A fantastic starting base location packed with natural wood, stone deposits, and iron ore veins.
-
Stone Structures: Upgrade your wooden walls to durable stone blocks early to protect your settlement from fire raids.
-
Chest Placement: Put your storage chests directly next to production benches to keep your crafting loops highly efficient.
Focus on Catching Ten of Each Creature
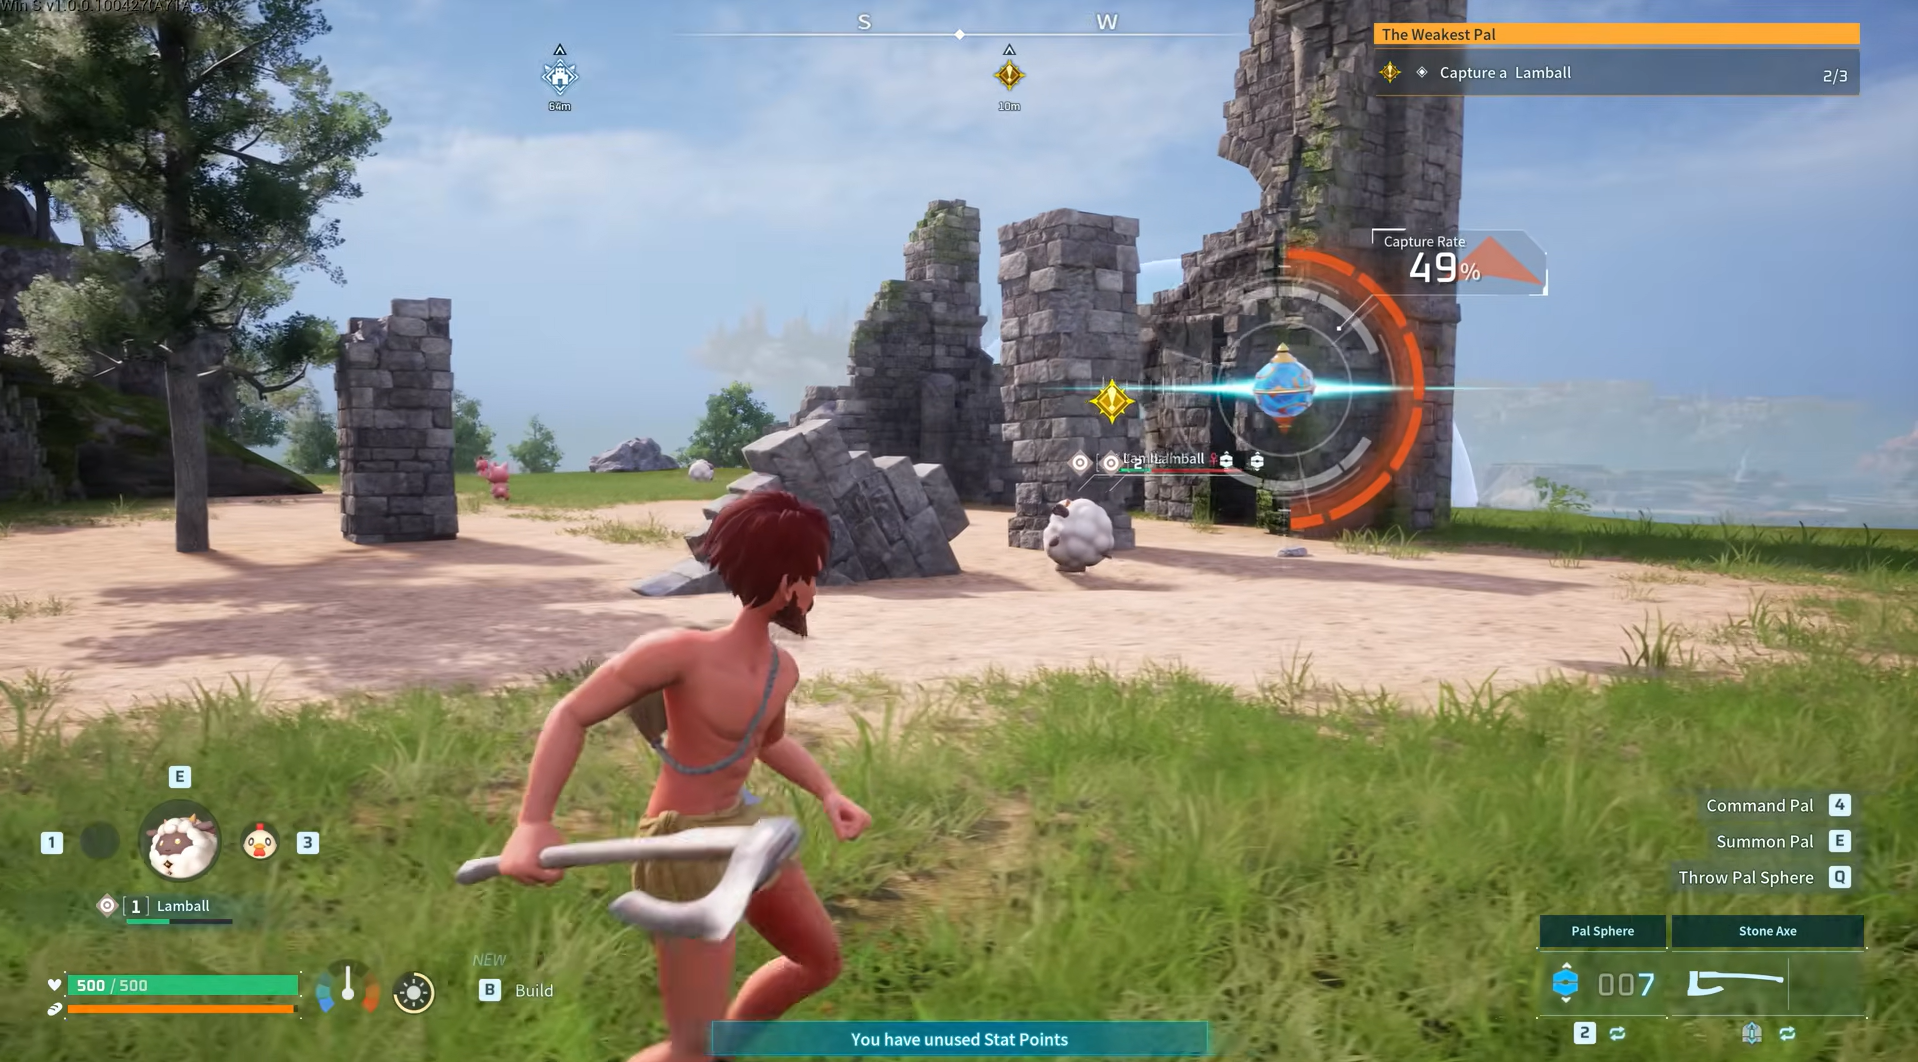
The fastest way to level up your character is not by fighting dangerous alpha bosses in the wilderness. The game gives you a massive experience bonus when you catch 10 of the same Pal, so focus on common early Pals instead of tougher fights. This helps every Pal you rely on come online faster, and even one good Pal can carry your start once it is leveled.
Before you throw a Pal Sphere, weaken a wild Pal first so you can catch Pals more reliably. Stacking these early capture rewards helps you unlock advanced crafting technologies much quicker than grinding regular wilderness battles. Keep a steady supply of basic blue spheres in your inventory whenever you go out exploring, and grab Lifmunk Effigies when you see them. Target weak monsters around your starting hill to maximize your total leveling speed. Lifmunk Effigies improve your catch rate and can be turned in at the Statue of Power for Capture Power.
Best Early Base Pals
Try to rotate your team often so you can test diverse abilities and swap in a different good Pal as you explore. Completing missions is another strong source of experience, and leveling your character also raises the max level of your Pals.
Early Capture Summary Checklist
-
Lamball: Excellent for producing soft wool at the ranch and defending your camp from early raid waves.
-
Cattiva: Increases your maximum inventory carrying weight capacity while exploring the map for resources.
-
Chikipi: Provides a steady supply of nutritious food eggs for cooking helpful camp meals.
-
Foxparks: Vital for smelting raw iron ore and cooking your basic food ingredients quickly at the campfire.
Utilize the New Work Preferences Menu
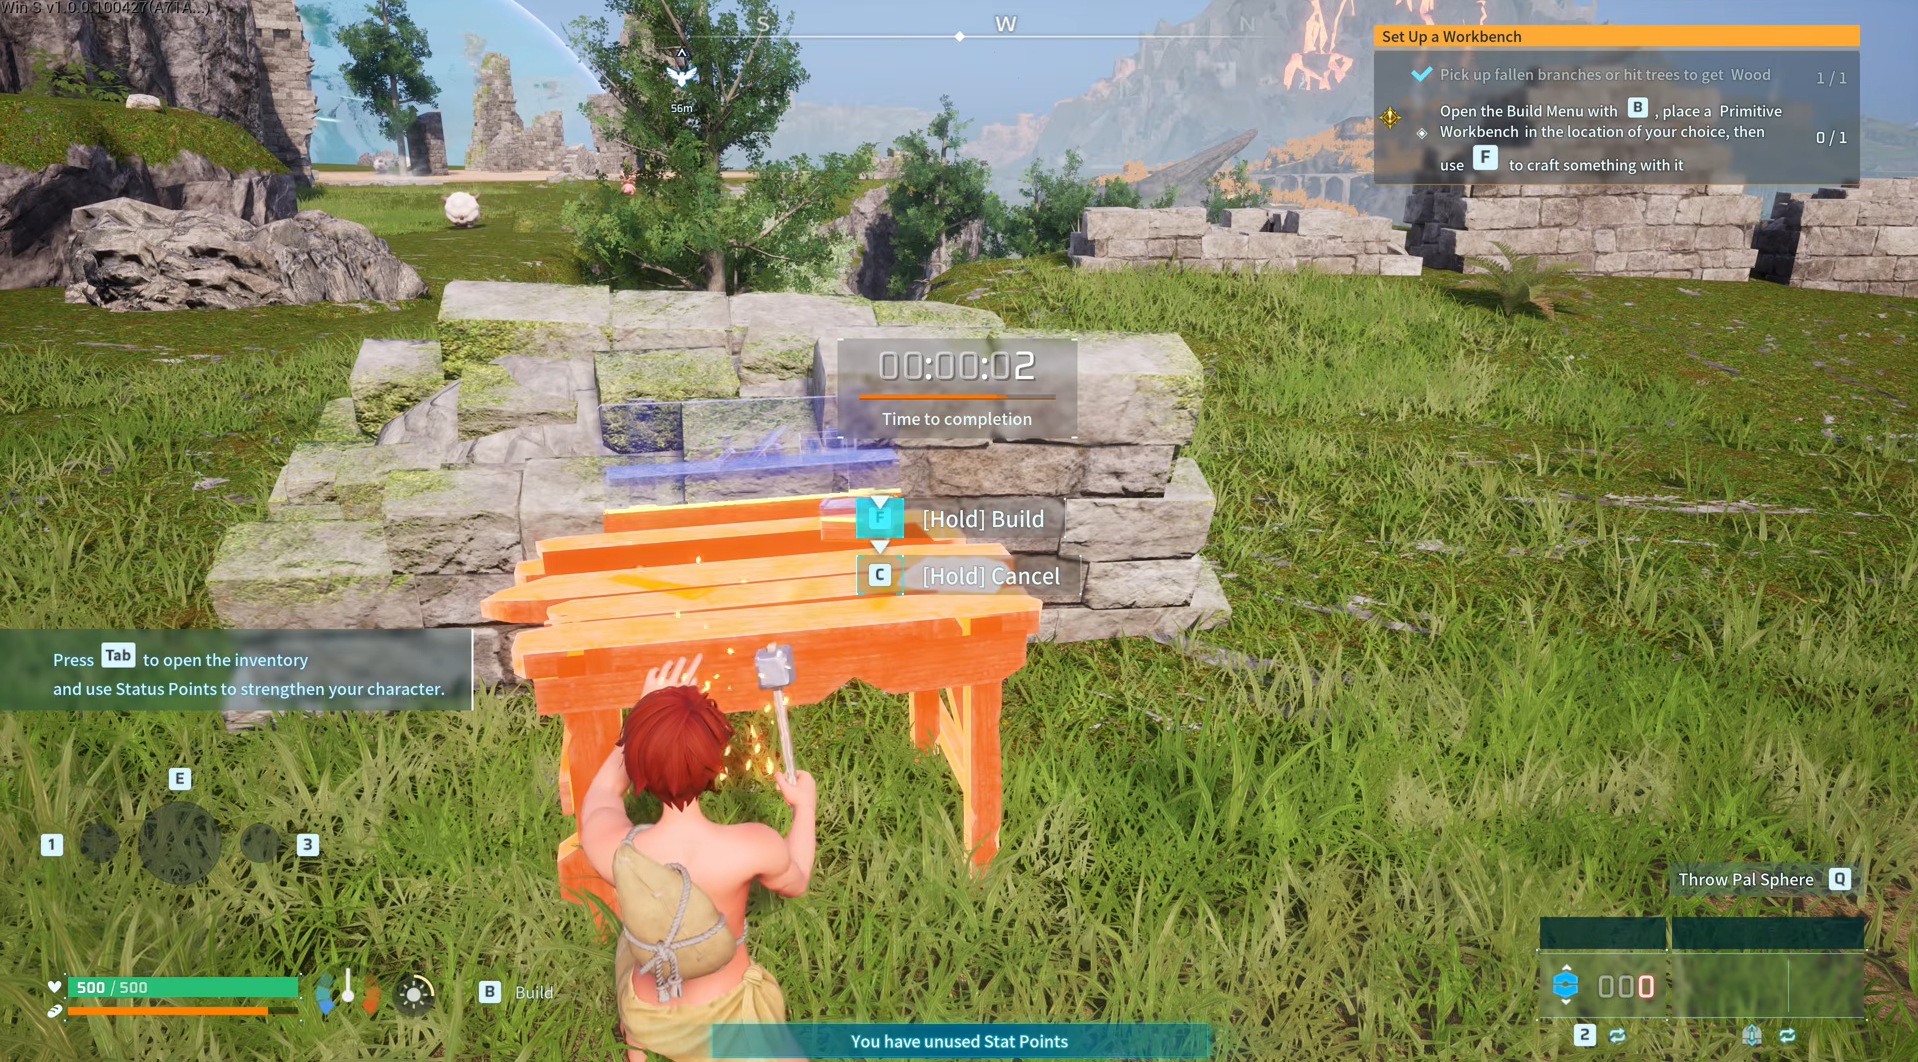
The massive version 1.0 update introduces a highly requested work preferences system to give you total control over base automation. This feature allows you to open a menu and manually check or uncheck specific tasks for every individual worker, and Work Suitability is why some Pals perform certain jobs better than others. Pals can perform various jobs based on their skills, so paying attention to work suitability and matching each job to the right worker improves efficiency at your base. It prevents your companions from wasting time by assigning the right Pal to the right task.
For example, you can disable transporting tasks on your main crafting workers to keep them focused on assembling weapons. This simple adjustment ensures your production lines never grind to a halt because a worker wandered off. It drastically improves your base efficiency and resource output during the early game.
Task Management Settings
-
Work Preferences: Open the new camp settings panel to manually toggle specific job duties on or off for every companion.
-
Work Suitability: Always match specific jobs to the workers carrying the highest element skills to maximize production speeds.
-
Crafting Focus: Disable secondary transport duties on handiwork specialists to keep them focused on building spheres.
-
Automation Efficiency: Streamline your labor chains to prevent your base companions from wasting time on distant nodes.
Keep Your Base Workers Happy and Healthy
Managing the sanity meter of your camp companions is just as important as upgrading your personal combat weapons. Happy workers are significantly more productive and will not develop terrible status illnesses or refuse to complete their daily duties. You must invest resources into building high-quality relaxation structures early.
Make sure to craft comfortable straw beds for every creature and place multiple hot spring spas around your base territory. You should also keep your automated feeding boxes stocked with cooked meals rather than raw ingredients. Berries are useful early, but they stop being enough once your base expands and your workforce grows.
Reliable food production is critical for worker efficiency and long-term base growth. Cooked food restores much more sanity, keeping your camp operating at peak performance. If you plan to explore at night, assign a few nocturnal Pals so production can continue while you are away.
Companion Health Maintenance
-
Straw Beds: Ensure every active companion has an assigned bed slot to prevent sanity drops overnight.
-
Hot Springs: Position multiple therapeutic spas around your compound layout to cure worker fatigue automatically.
-
Cooked Meals: Fill your automated feeding boxes with baked dishes instead of raw food to restore extra sanity points.
-
Nocturnal Staffing: Deploy dark-element night workers to maintain continuous resource collection while your main team sleeps.
Try the Brand-New Offshore Base Building
Version 1.0 brings a total game-changer for survival builders by introducing specialized water foundations and structural parts. You are no longer restricted to building your home camp on dry land or flat grassy plains. You can now take your construction tools directly to the ocean and build gorgeous floating bases.
Building over the water gives you a massive tactical advantage against aggressive enemy raid events. Most ground-based attackers cannot easily navigate deep water zones, making your coastal fortresses much easier to defend. It also opens up unique pathways for automated fishing and water resource collection.
Aquatic Construction Features
-
Water Foundations: Unlock over-water pontoons inside your technology menu to expand your territory borders into the ocean.
-
Raid Defense: Construct floating island factories to completely stop ground-based raid factions from reaching your storage chests.
Master Flight Early with the New Wing Pack
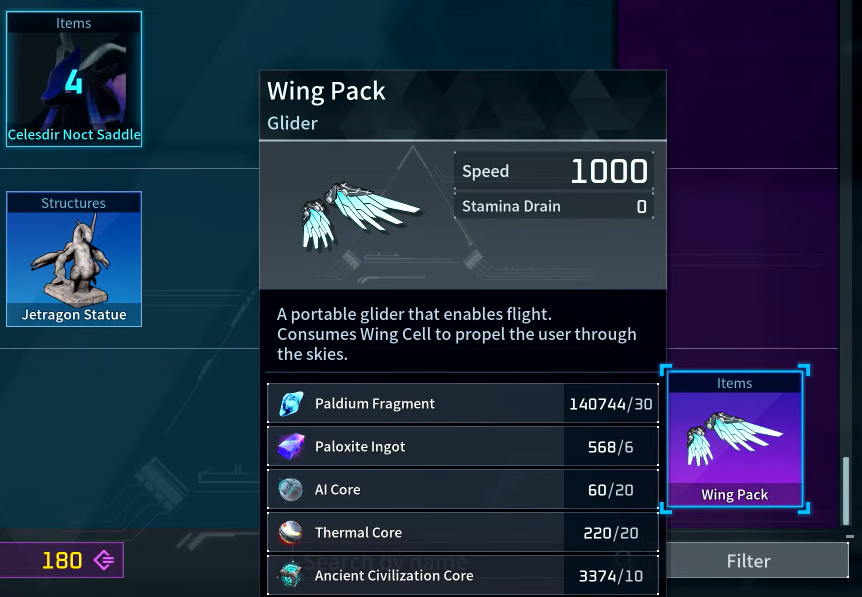
Traversing the expanded world map becomes much easier once you unlock the brand-new craftable wing pack gear item, but your starting area and early movement Pals also shape how smoothly those first hours go. Unlike traditional early game gliders that simply slow your descent, this advanced tool grants you genuine aerial flight without forcing you to rely only on it for mobility.
Celaray improves glider performance and unlocks at level 7. At level 12, Eikthyrdeer becomes a strong option among ground mounts thanks to its dash attack and double jump. You can use the wing pack to easily scale steep mountains, escape dangerous predators, and scout hidden item chests from the sky.
It completely changes how you approach map exploration during your first few hours on the islands. Prioritize unlocking this blueprint in your technology menu as soon as it becomes available. Nitewing is the first flying Pal most players unlock at level 15, and it is smart to keep one ground mount and one flying mount in your party.
Advanced Mobility Options
-
Wing Pack Gear: Craft the new utility pack to achieve true aerial flight across deep island canyons easily.
-
Early Gliders: Utilize Celaray at level 7 to significantly upgrade your baseline gliding distances and descent control.
-
Ground Mounts: Train an Eikthyrdeer at level 12 to exploit its helpful double-jump and fast horizontal dash skills.
-
Party Balance: Keep exactly one fast ground mount and one flying companion like Nitewing in your travel party.
Prepare for Overhauled Tower Boss Fights
The faction leaders inside the massive island towers have received a massive artificial intelligence upgrade for the official 1.0 release. You can no longer rely on simple repetitive movement patterns or basic dodging mechanics to cheese these encounters. Every major boss now features dynamic combat phases and entirely new attack moves.
Before stepping into a tower arena, make sure to build a well-balanced team that counters the specific elemental type of the leader. Utilize your companion summoning mechanics to distract the boss while you deal damage from a safe distance with ranged weapons. Spend your technology points carefully, and when possible, prioritize crafting ammo over extra weapons so your loadout stays efficient.
Proper preparation is the only way to survive these intense challenges. Defeating bosses also awards ancient technology points for important progression unlocks. Repair your gear constantly before a boss attempt.
Investigate Reworked Wildlife Sanctuaries
The isolated hunting zones scattered around the outer edges of the map have been completely transformed into vibrant unique ecosystems. These high danger zones are now protected by advanced drone patrols and glowing dome energy barriers. Sneaking inside requires careful movement and strong combat gear to survive. Activating nearby fast travel points while exploring also gives you Technology Points, which makes each risky trip more rewarding.
Despite the high risks, visiting these sanctuaries early is well worth the effort because they contain incredibly rare crafting materials. You can also find unique creature variants that do not spawn anywhere else on the main islands. Just make sure your inventory weight capacity is upgraded before making the trip.
Advanced Exploration Prep
-
Smart AI Changes: Tower leaders actively dodge slow abilities and target vulnerable companions intelligently.
-
Drone Patrols: Wildlife sanctuaries are guarded by high-tech security drones that attack trespassers on sight.
-
Dome Barriers: Protective energy shields block standard flying mounts from entering rare companion zones carelessly.
-
Fast Travel Points: Activating nearby warp statues grants extra Technology Points to accelerate your level progression.
Boss and Sanctuary Summary Checklist
-
Element Counters: Always match your active team to the specific elemental weakness of the Tower leader.
-
Ammo Efficiency: Prioritize mass-producing ammunition lines over crafting multiple redundant weapon types.
-
Inventory Expansion: Upgrade your character's weight capacity before looting high-tier sanctuary islands.
-
Gear Maintenance: Fully repair your armor sets and active weapons before initiating a boss instance.
Conclusion
Succeeding in the full release version requires a smart balance of world exploration, clever technology choices, and careful worker management. By picking a completely flat base location and maximizing your early capture bonuses, you will easily outpace the opening challenges, so do not worry if your first base looks messy since most players rebuild it later. The mysterious islands are full of amazing surprises.
Take your time to learn how each creature fits into your expanding base economy as you slowly level up. Treat your working companions well, upgrade your metal gear often, and do not be afraid to explore the floating sky islands, with multiplayer tips worth keeping in mind if you head out with others.
You can also tweak world settings to make the experience more fun for new players, especially in the late game or if you already enjoy survival games. Your incredible taming journey across these dangerous lands is just beginning.